[+] Tech Stack
DimLED Mini started as a simple idea: create a reliable PWM LED dimmer that’s both easy to use and fun to build. What began as a side project evolved into a complete hardware+software solution, taking it from breadboard prototype to a polished IoT device with web-based control and OTA updates.
Hardware Design Process
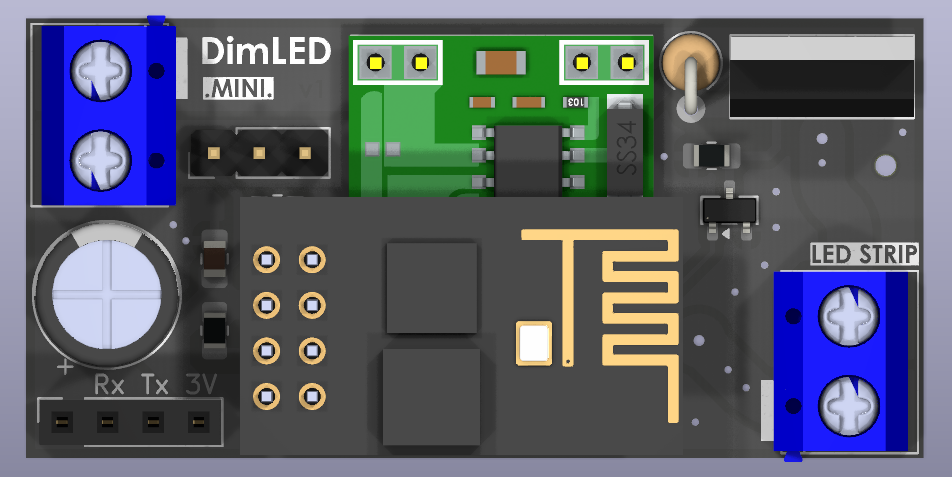
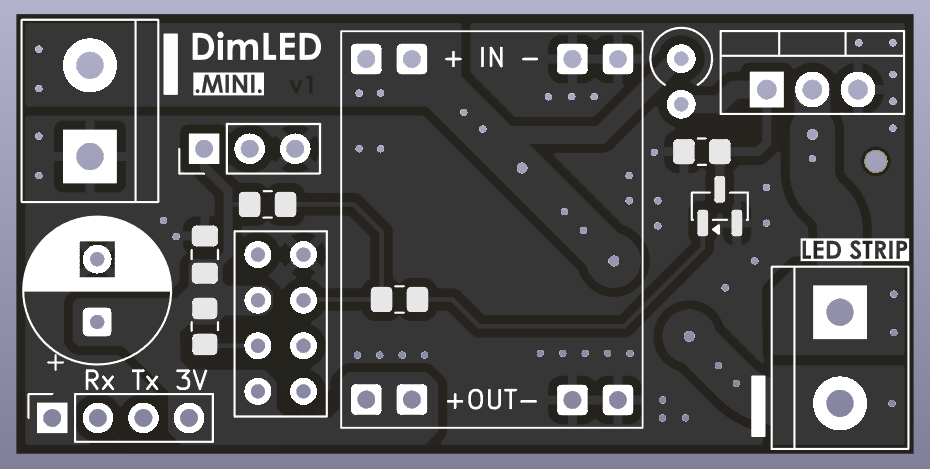
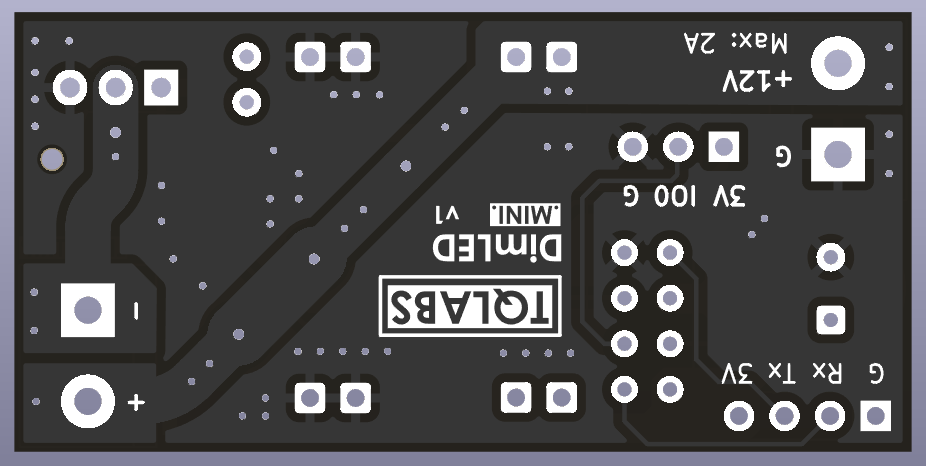
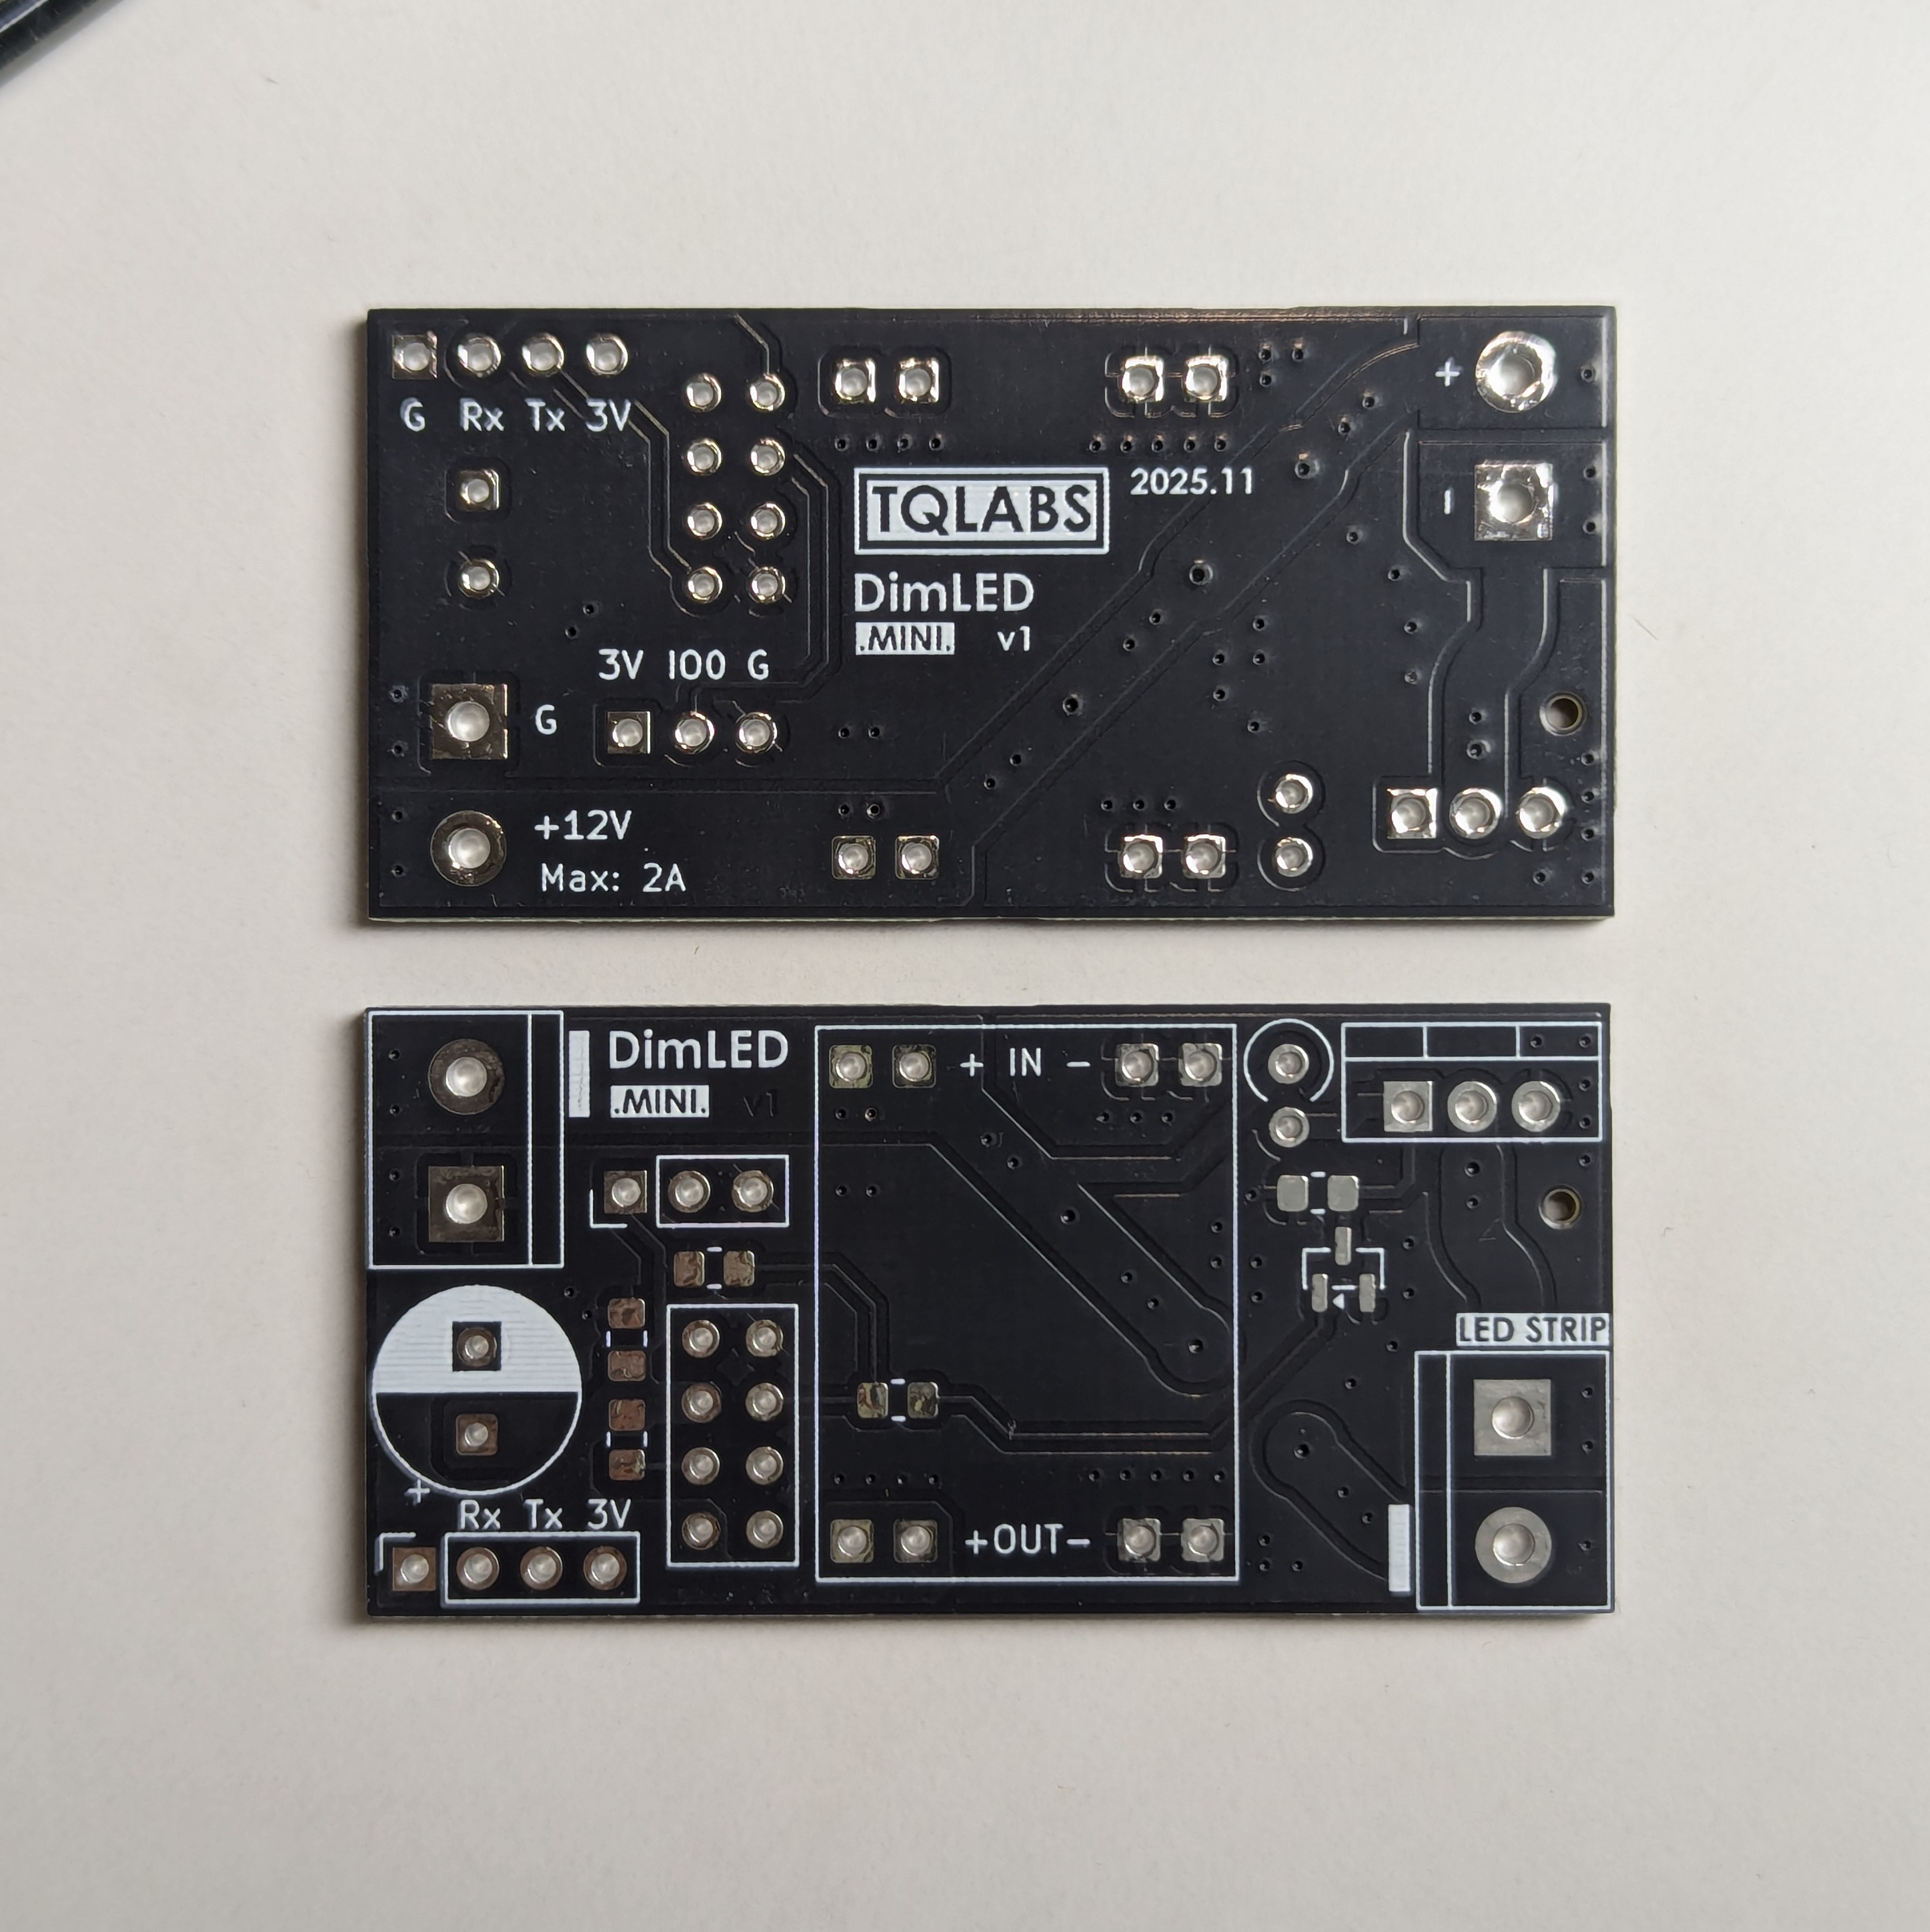
The project began with a 2-layer PCB design built around the ESP8266 ESP-01 module. I focused on keeping things simple while ensuring reliable performance:
- Power Management: MP1584 DC-DC buck converter for efficient voltage regulation
- LED Control: IRF540N MOSFET with signal conditioning via MMBT2222A transistor
- Thoughtful Layout: Proper grounding and thermal considerations for stable operation
The assembled board showcases attention to detail with clean solder joints and professional component placement

Custom Web Interface: Making It Usable
I wanted to avoid the clunky default ESPHome interface, so I built a custom web dashboard with modern JavaScript and a clean dark theme:
- Real-time Control: Toggle switches, brightness sliders, and effect selection
- Mobile Friendly: Touch-friendly interface that works well on phones
- Status Indicators: Visual feedback for connection and system state
- OTA Updates: Firmware updates over WiFi without needing to plug it in
Getting the PWM Control Right
Getting smooth LED dimming proved trickier than expected. Through some trial and error, I settled on these settings:
- 1000Hz PWM Frequency: High enough to avoid flicker at any brightness level
- Inverted PWM Logic: Proper MOSFET driving with signal conditioning
- 1.8 Gamma Correction: Makes brightness changes feel more natural to the eye
- Zero Means Zero: Reliable low-brightness control without flicker
Remembering Settings Between Power Cycles
One of the most requested features was remembering the last brightness level. I added state management using flash memory:
- Non-volatile State: Saves brightness and on/off states so they survive power cycles
- Visual Feedback: LED indicators show when settings are being saved
- Smooth Transitions: Configurable fade effects that feel natural
- Manual Override: Save/restore buttons for when you want to lock in a setting
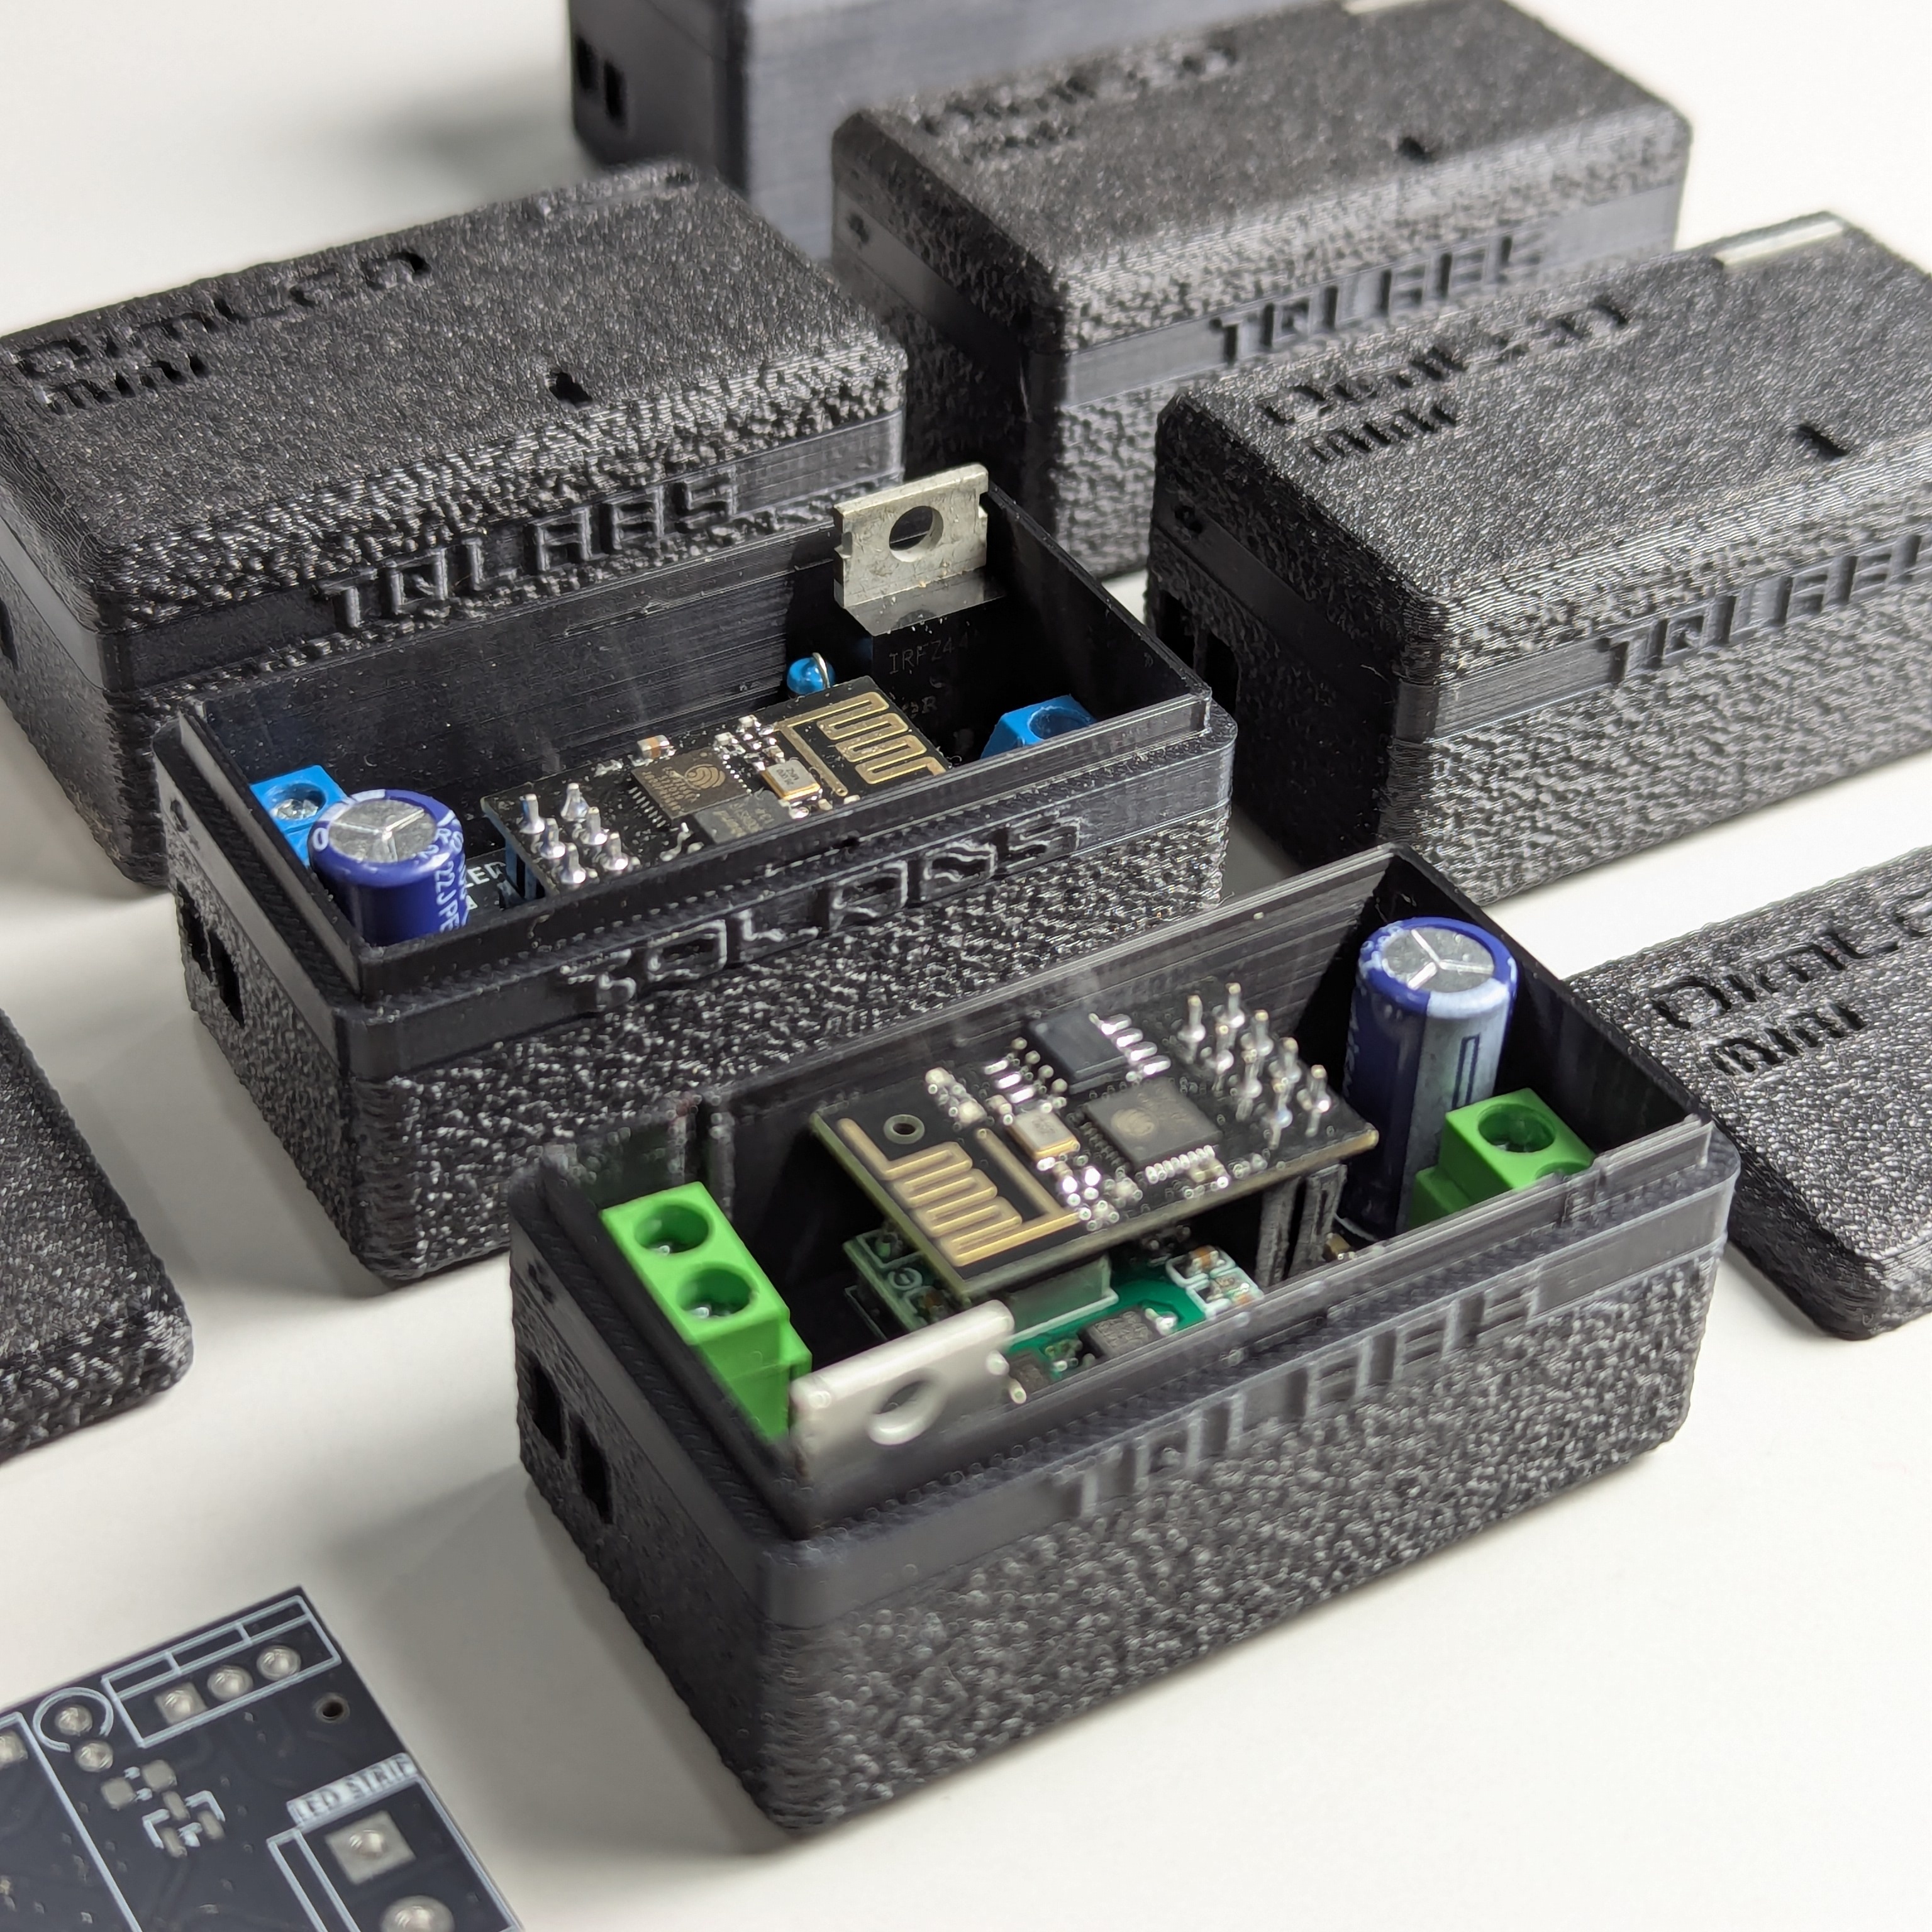
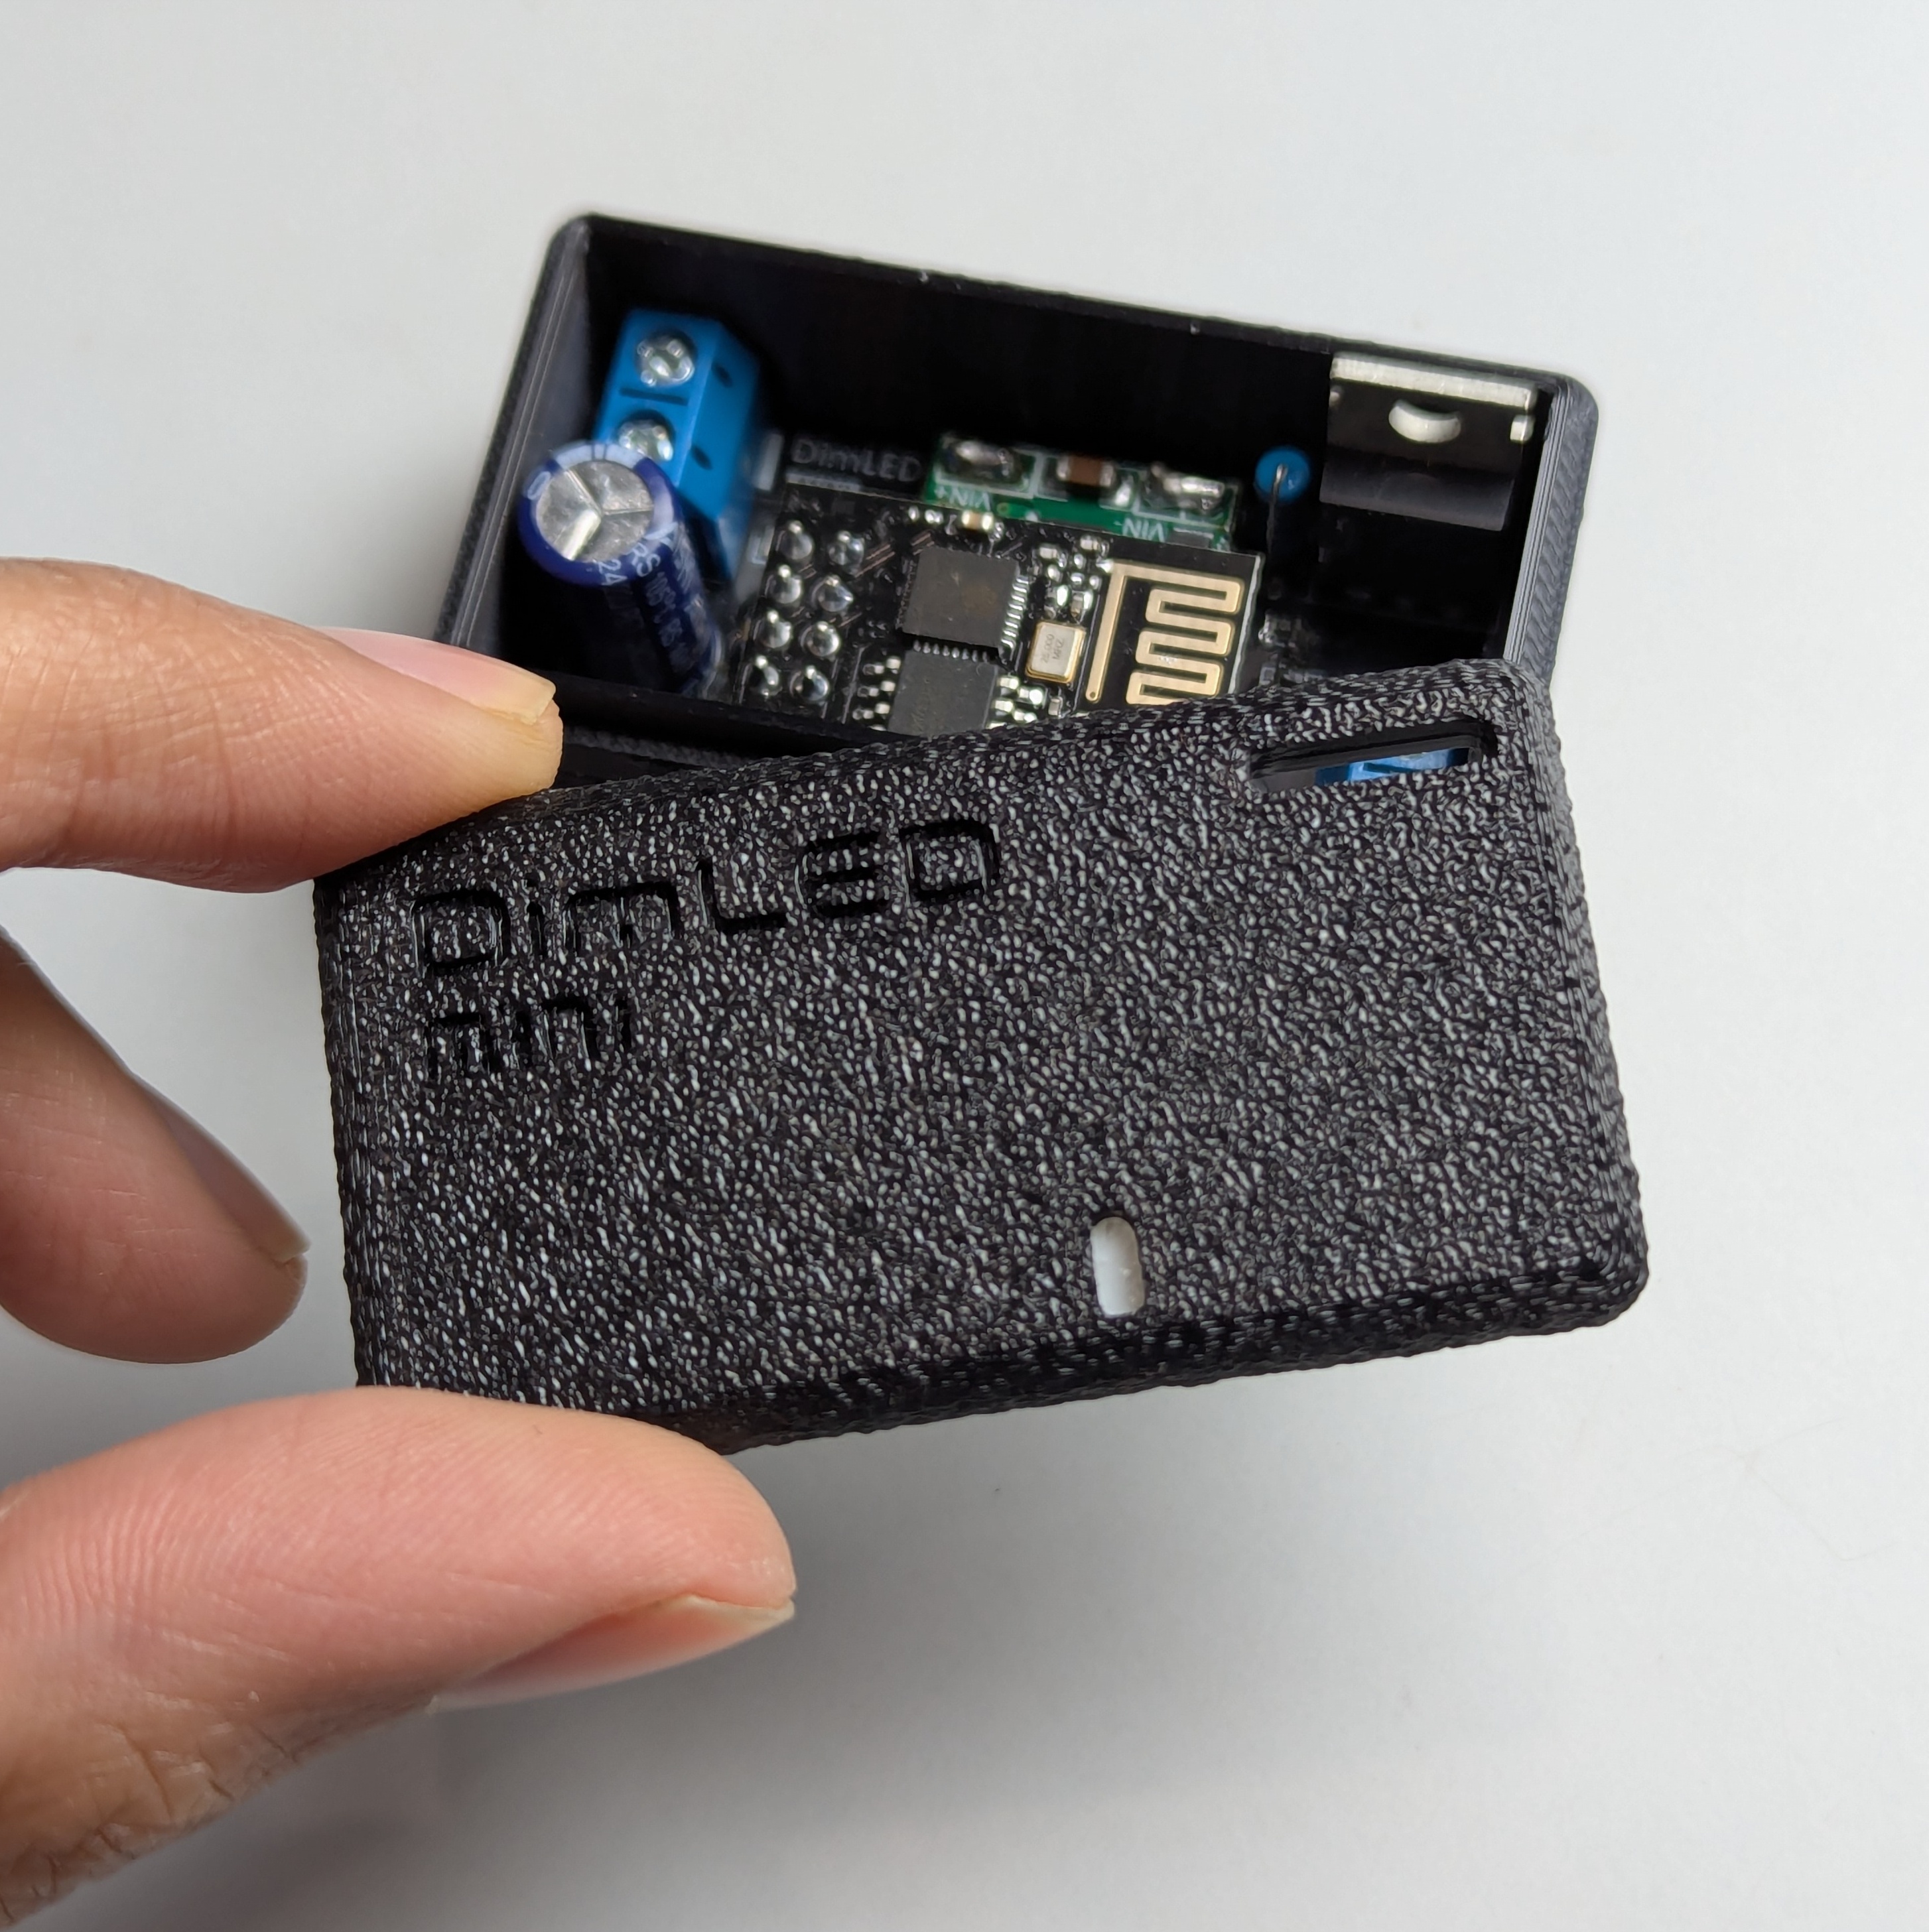
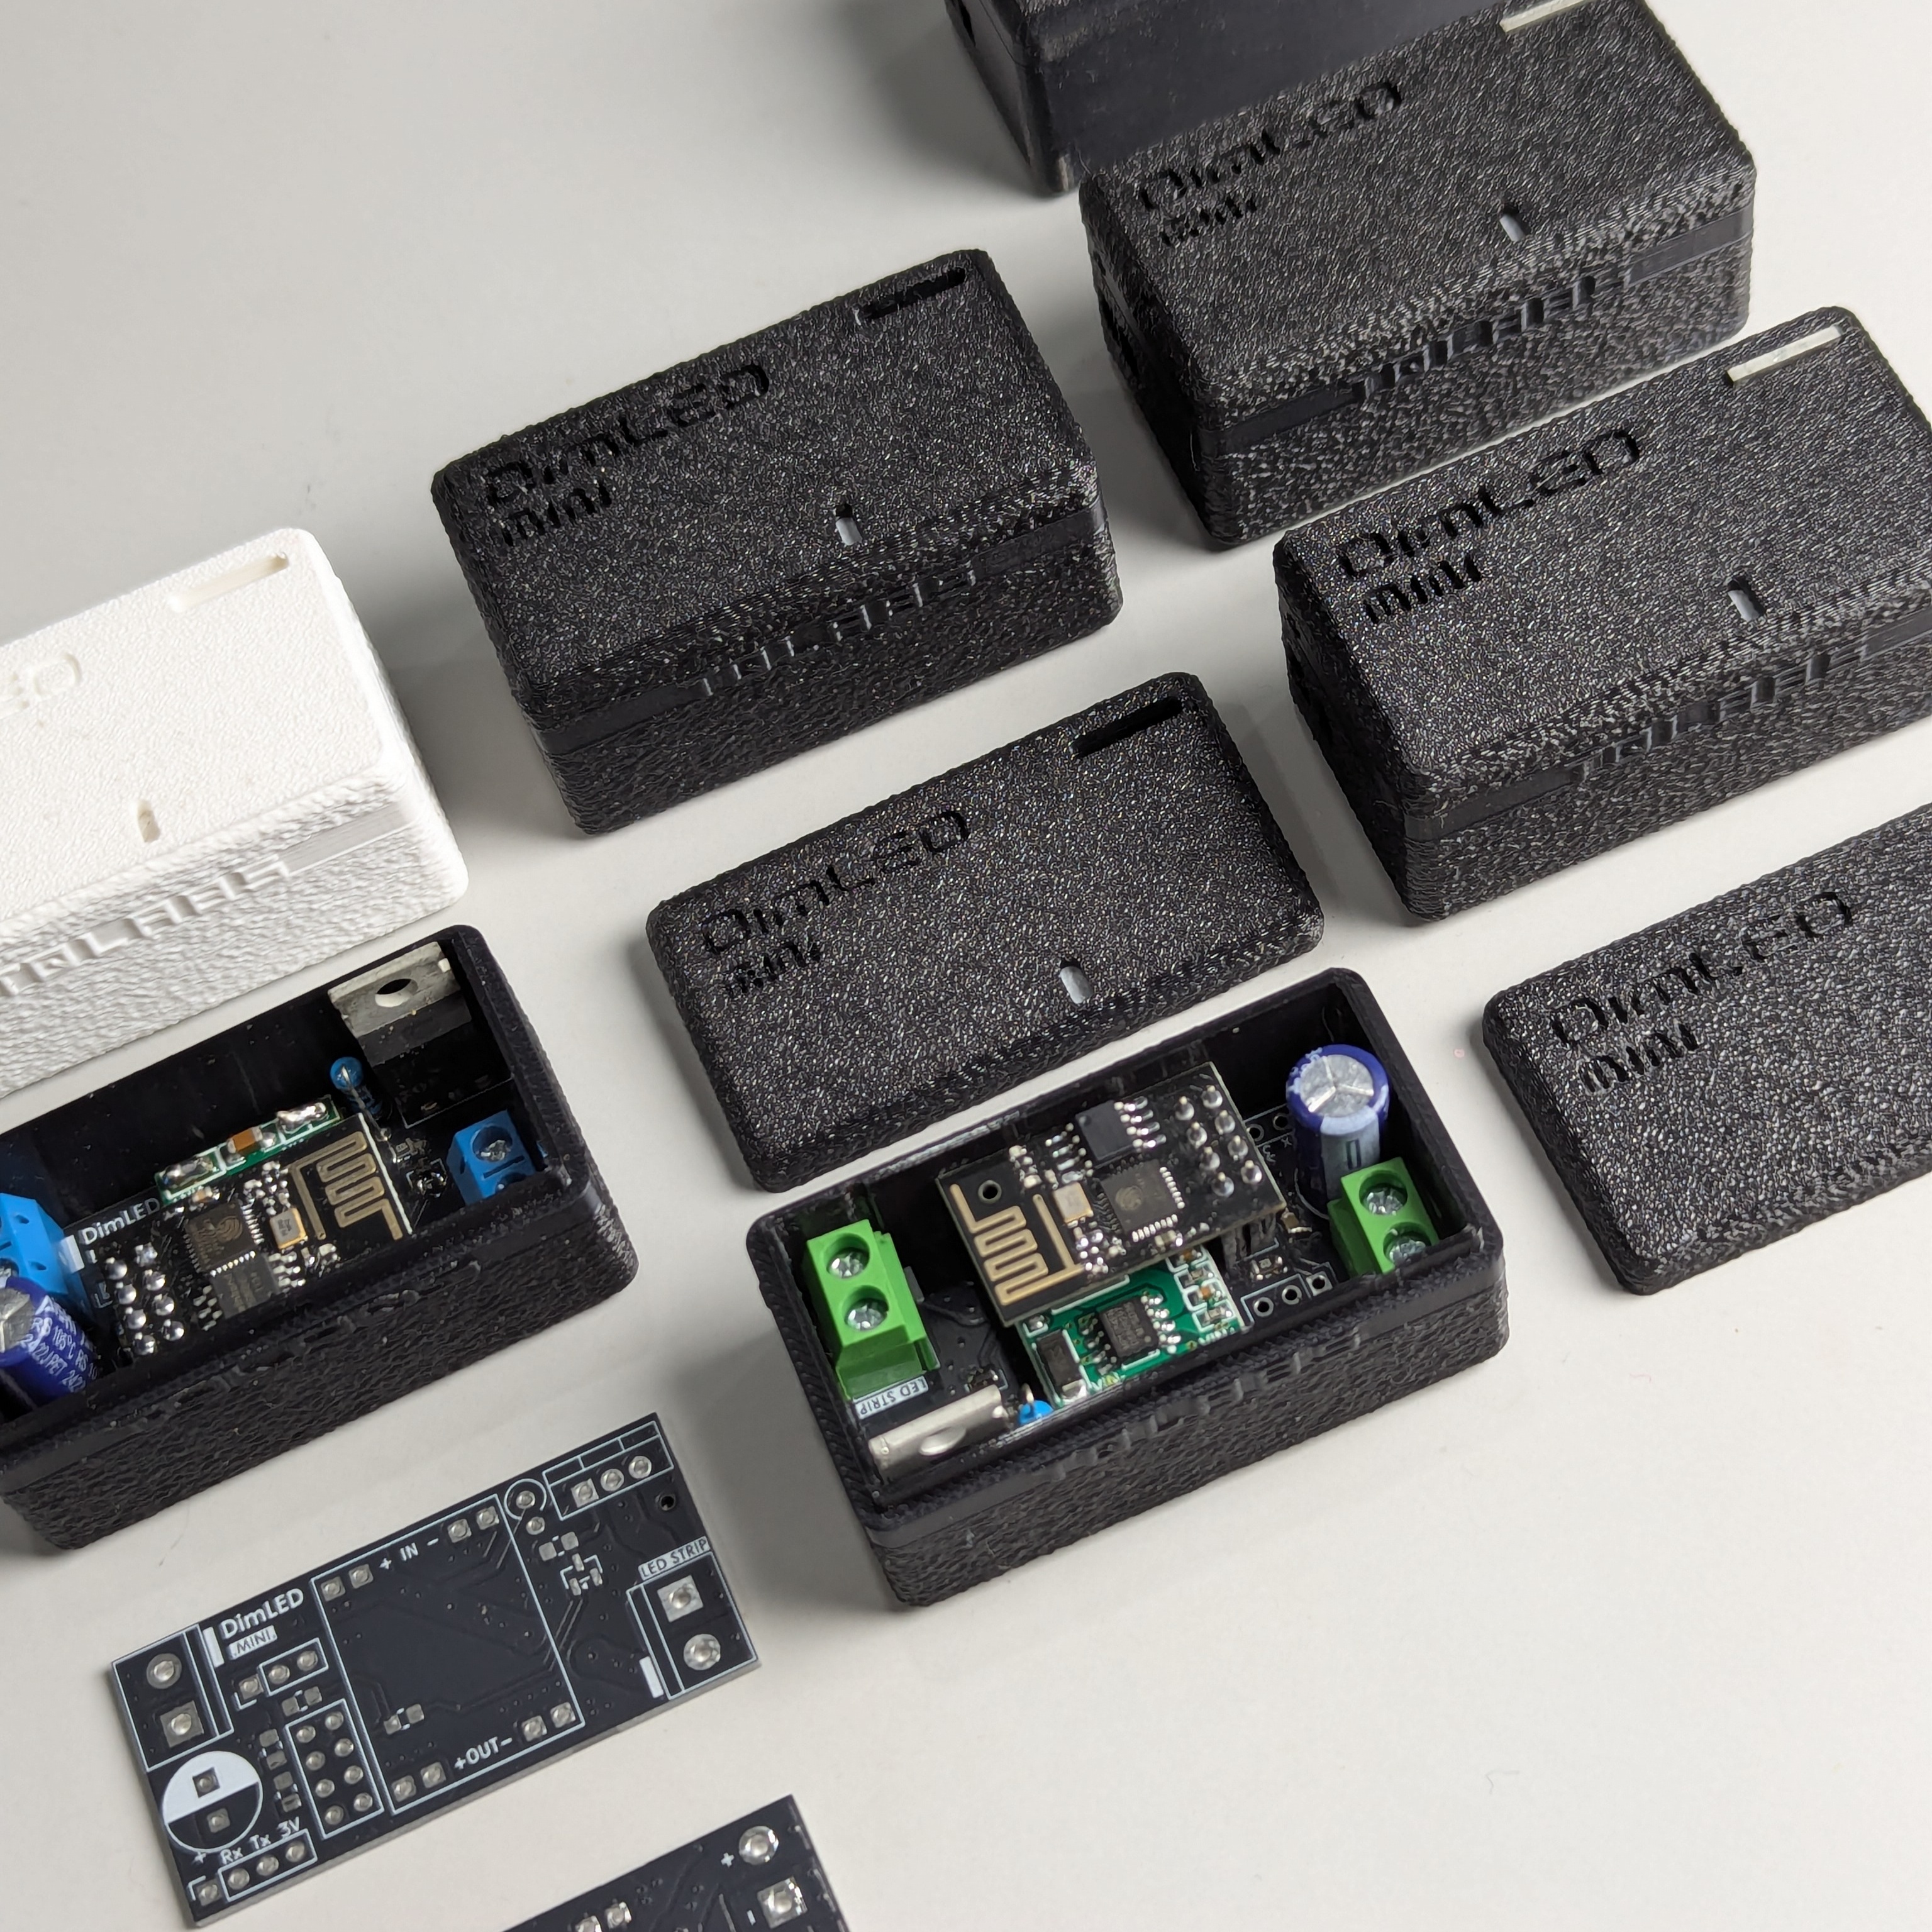
3D Printed Enclosure
I designed a simple two-part enclosure that’s easy to print:
- Parametric Design: FreeCAD models that can be easily modified
- Material Choice: PLA+ for the main case, PETG for the light diffuser
- Print Settings: OrcaSlicer profiles that give consistent results
- Simple Assembly: Just the case body and LED diffuser to snap together

Development Workflow
To keep things organized, I set up some automation:
- CI/CD Pipeline: Automated testing across different ESPHome versions
- Version Management: Proper version bumping with releases
- Dependency Updates: Dependabot helps keep everything up to date
- Automated Testing: Basic validation to catch issues early
Documentation and Files
I tried to document everything so others could build it too:
- Bill of Materials: Complete parts list with quantities and suppliers
- Gerber Files: Ready-to-send files for PCB fabrication
- 3D Models: STEP files if you want to modify the design
- Interactive BOM: HTML viewer to see how everything fits together
Easy Setup and Use
I wanted to make sure the device was accessible to different users:
- Web Flasher: Install firmware right from your browser
- ESPHome Dashboard: Works with Home Assistant if you use that
- AP Mode: Captive portal for initial WiFi setup
- OTA Updates: Update the firmware over WiFi
Extra Features
Along the way, I added some useful capabilities:
- DDP Protocol: For syncing with music visualizers like LedFx
- WiFi Stability: Some custom settings to keep the connection reliable
- Factory Reset: Simple way to reset everything if needed
- API Integration: Full ESPHome API for home automation systems
What I Learned Along the Way
This project taught me a lot about bringing together hardware and software:
- Full-Stack Development: From PCB design to web interfaces and everything in between
- Hardware Design: The importance of proper component selection and PCB layout
- Software Architecture: How modular design makes maintenance and feature addition much easier
- User Experience: Small details like smooth transitions and responsive controls really matter
- Documentation: Good documentation makes all the difference for others (and future me)
Open Source & Community
The entire project is open source because I believe projects like this benefit from community input. The modular architecture should make it easier for others to contribute ideas or adapt it for their own needs.
Want to build your own? Check out the GitHub repository for all the source code, PCB files, and documentation.